How to use custom fonts in Material-UI
How to set custom fonts in Material-UI:
We can set a custom font easily in Material-UI. In this post, I will show you how to add one custom font in Material-UI with an example program.
YouTube video:
I have published one video on YouTube. You can watch it here:
Example program:
The best way to set a custom font is while creating the theme at the root level. It will add that font to all other texts in all components.
For this example, we will use Train One font from Google fonts.
If you select this font, it will show you to import it using a link or using @import.
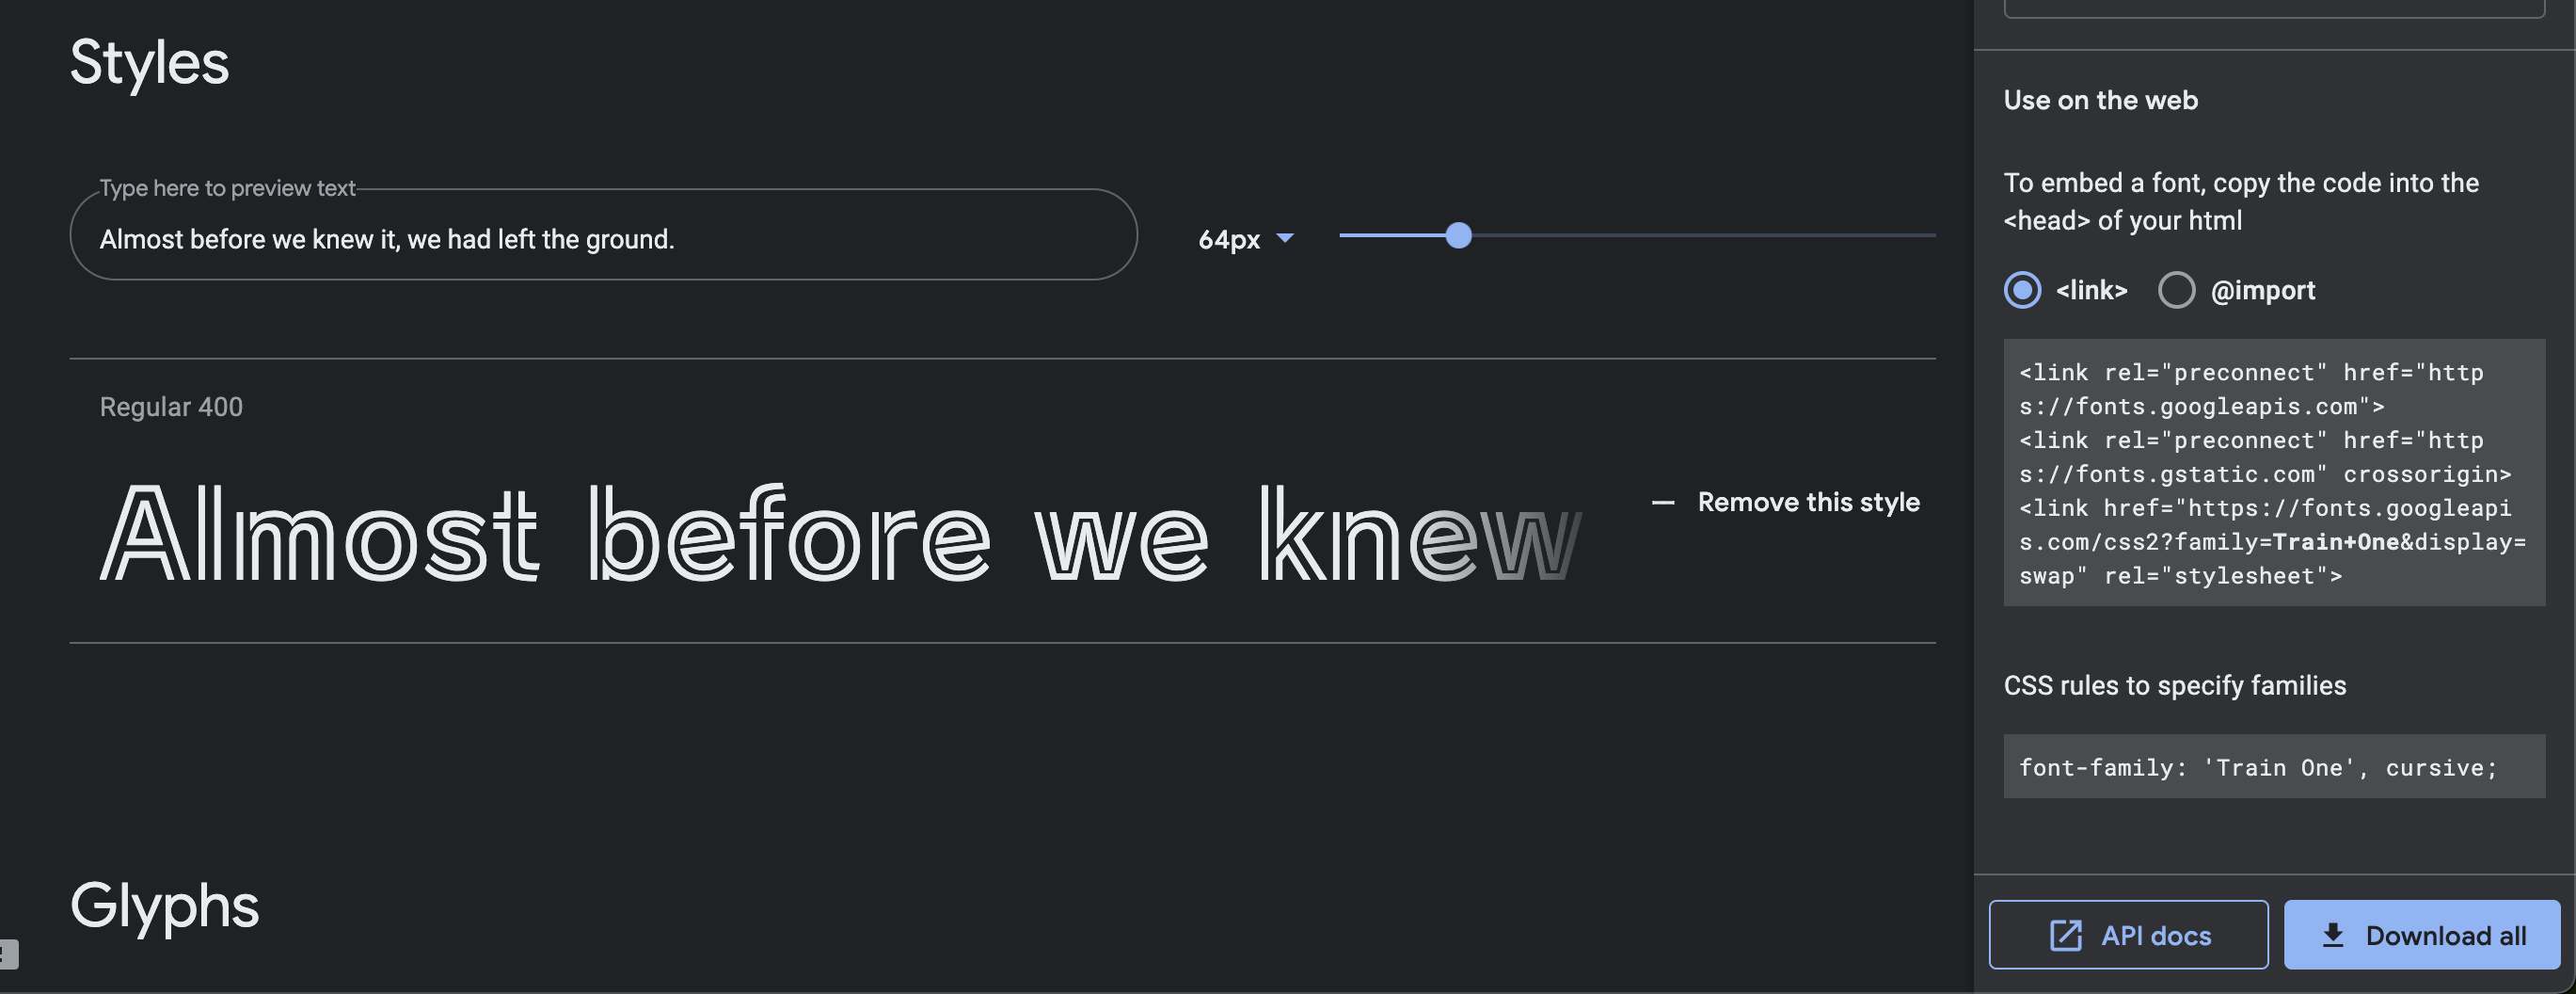
Suppose, we want to use the link, copy the link, open public/index.html and put that link in the head component.
<!DOCTYPE html>
<html lang="en">
  <head>
    <meta charset="utf-8" />
    <link rel="icon" href="%PUBLIC_URL%/favicon.ico" />
    <link rel="preconnect" href="https://fonts.googleapis.com" />
    <link rel="preconnect" href="https://fonts.gstatic.com" crossorigin />
    <link
      href="https://fonts.googleapis.com/css2?family=Train+One&display=swap"
      rel="stylesheet"
    />
    ... ... ...
  </head>
</html>
In the google fonts page, the css rules is shown as below:
font-family: 'Train One', cursive;
Now, we can add it in the App.js file as like below:
import { createTheme, ThemeProvider, Typography } from "@material-ui/core";

function App() {
  const theme = createTheme({
    typography: {
      fontFamily: ["Train One", "cursive"].join(","),
    },
  });

  return (
    <ThemeProvider theme={theme}>
      <Typography>Hello World</Typography>
    </ThemeProvider>
  );
}

export default App;
That's it. It will add Train One fonts to all text components.